Sample LrC Processing Workflow
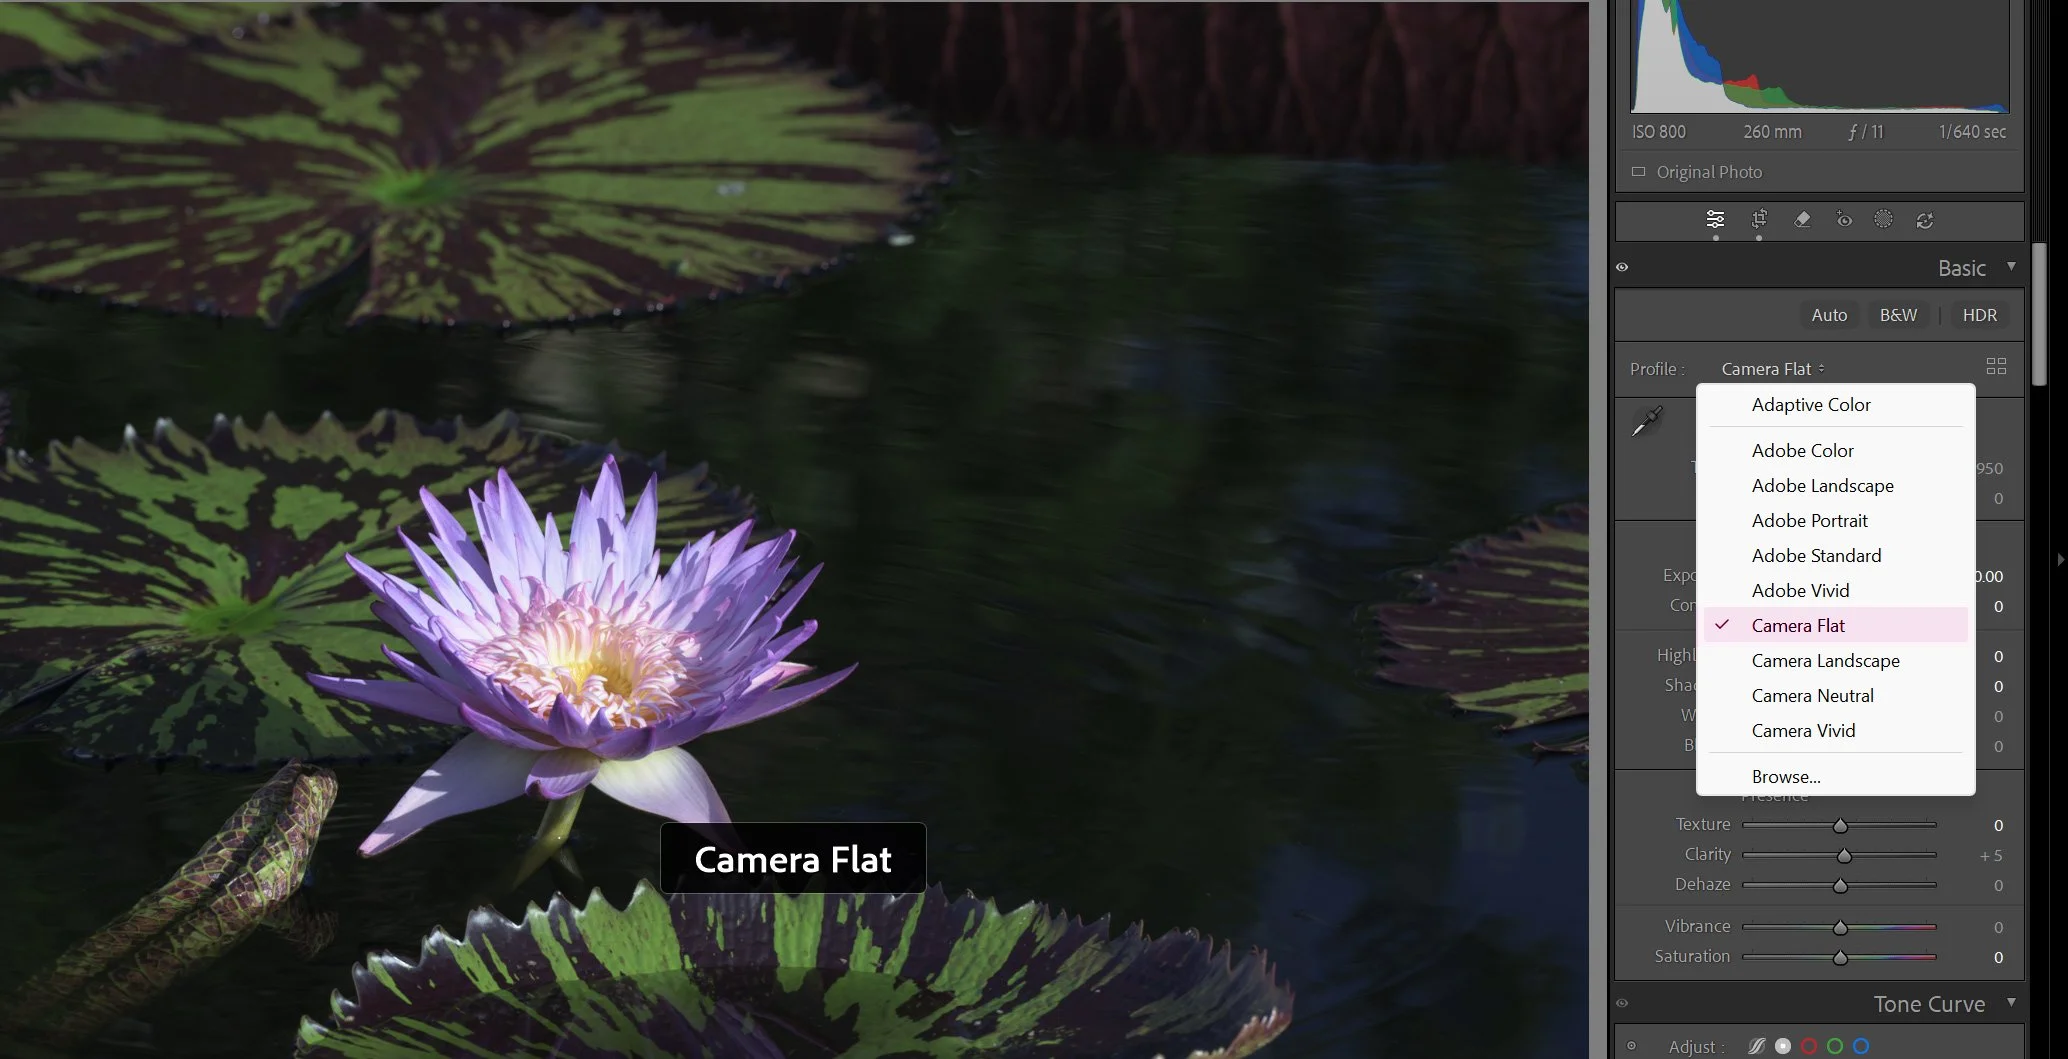
Water lily photo - a work in progress
Human vision is not a single exposure. Our eyes constantly scan a scene, adapting to different brightness levels and viewpoints, while the brain combines that changing information into a coherent perception with detail across a far wider range than we experience in any one glance.
A camera captures something much narrower: a fixed viewpoint, exposure, and limited dynamic range. Lightroom processing, HDR blending, panoramas, shadow recovery, and local adjustments are therefore not necessarily attempts to invent a scene. Often, they are attempts to make a photograph reproduce more closely what the photographer actually perceived.
A Practical Lightroom HDR Workflow
The goal is not to manufacture detail that was never there. It is to capture enough information that the finished image can reproduce the scene more faithfully than any single exposure could.
1. Capture a short AEB sequence
Use automatic exposure bracketing rather than trying to extract everything from one file. Three exposures are usually sufficient. There is rarely any benefit in firing off seven or nine frames unless the scene has an extraordinary brightness range.
For scenes containing moving foliage, water, people, or anything else unlikely to cooperate, consider using a somewhat higher ISO than you normally would. The slight increase in sensor noise is usually a better trade than motion between frames. Modern noise reduction is remarkably good; fixing misaligned branches is considerably less entertaining.
2. Denoise the source frames
Before merging, run Lightroom Classic's AI Denoise on each exposure. Because the denoising model works from the characteristics of the raw sensor data, it can remove substantial noise while preserving detail far better than traditional luminance-noise reduction.
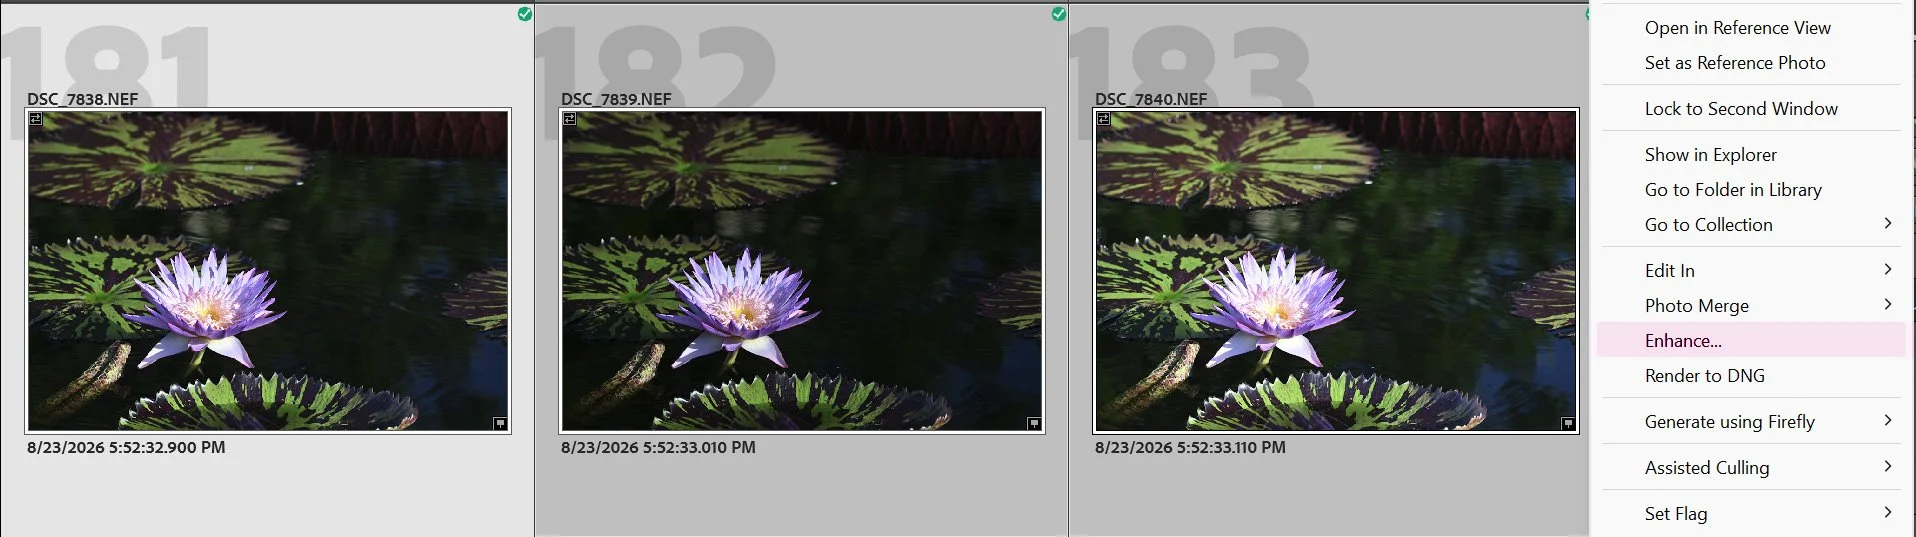
This is one reason I am comfortable raising ISO during the original bracket. I would rather give the HDR merge several sharp, well-aligned frames with modest noise than several cleaner frames containing movement.
3. Start with a neutral camera profile
Select Camera Neutral, Camera Flat, or the closest equivalent available for the camera.
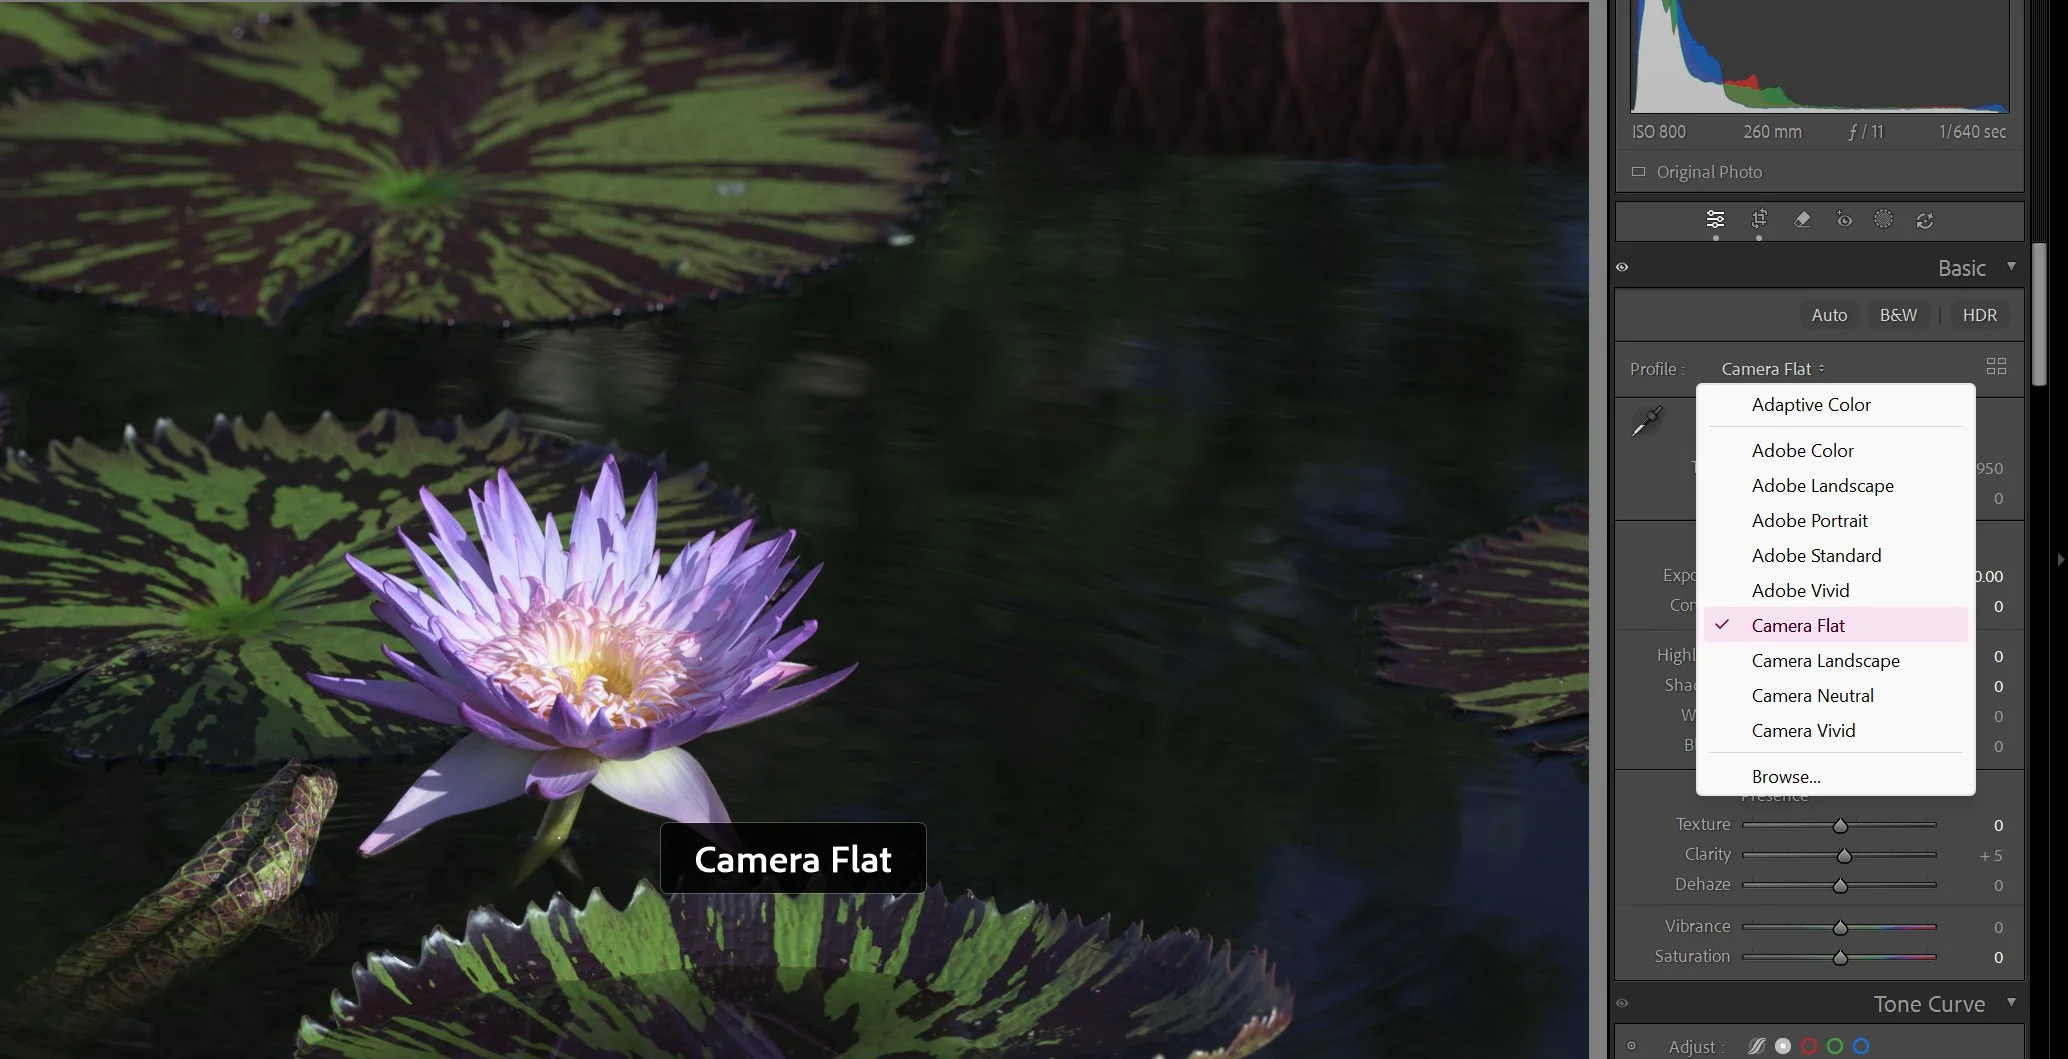
Avoid starting with a highly processed profile. At this stage, I want as much tonal and color information as possible without Lightroom making creative decisions on my behalf. You can always add contrast and saturation later. Recovering information crushed by an aggressive starting profile is rather less convenient.
4. Merge the exposures into HDR
Select the bracketed frames and use Lightroom's HDR merge.
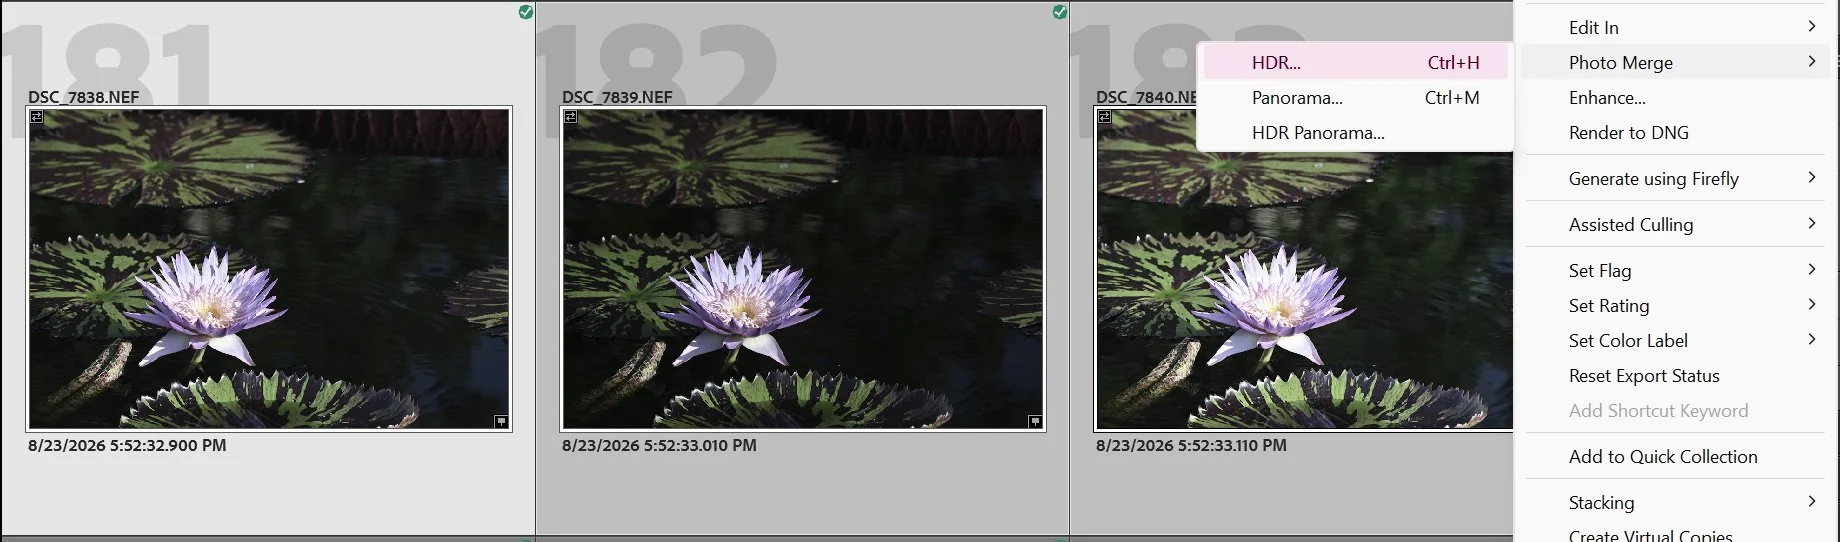
I normally leave Auto Settings disabled. Lightroom's automatic interpretation frequently produces the stereotypical HDR appearance: lifted shadows, compressed highlights, excessive local contrast, and an image that looks as though every photon has retained legal counsel.
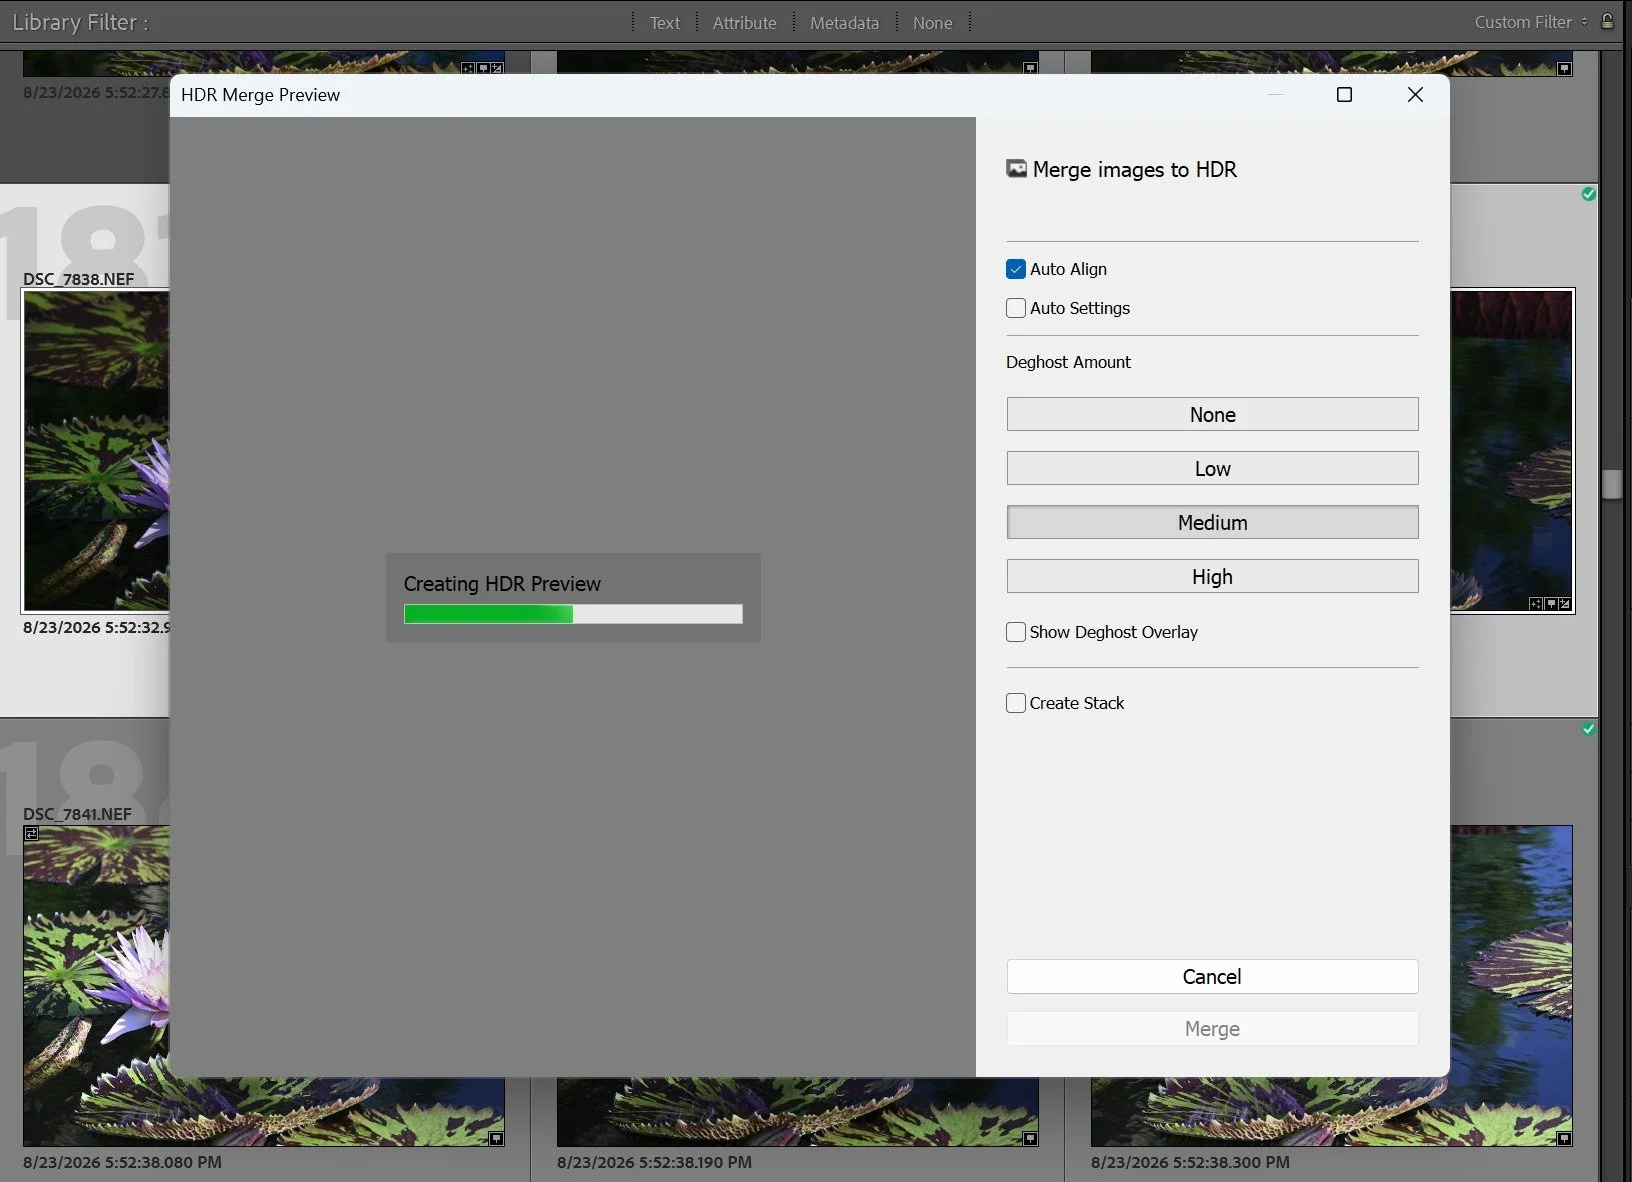
The HDR merge should primarily give you additional working latitude. It does not need to look finished.
Use deghosting only when necessary. Excessive deghosting can introduce its own artifacts, so there is little reason to enable a stronger setting simply because the button exists.
5. Denoise the merged DNG if needed
Once Lightroom creates the HDR DNG, I may run AI Denoise again if the merged file still benefits, particularly when the original sequence was shot at elevated ISO.
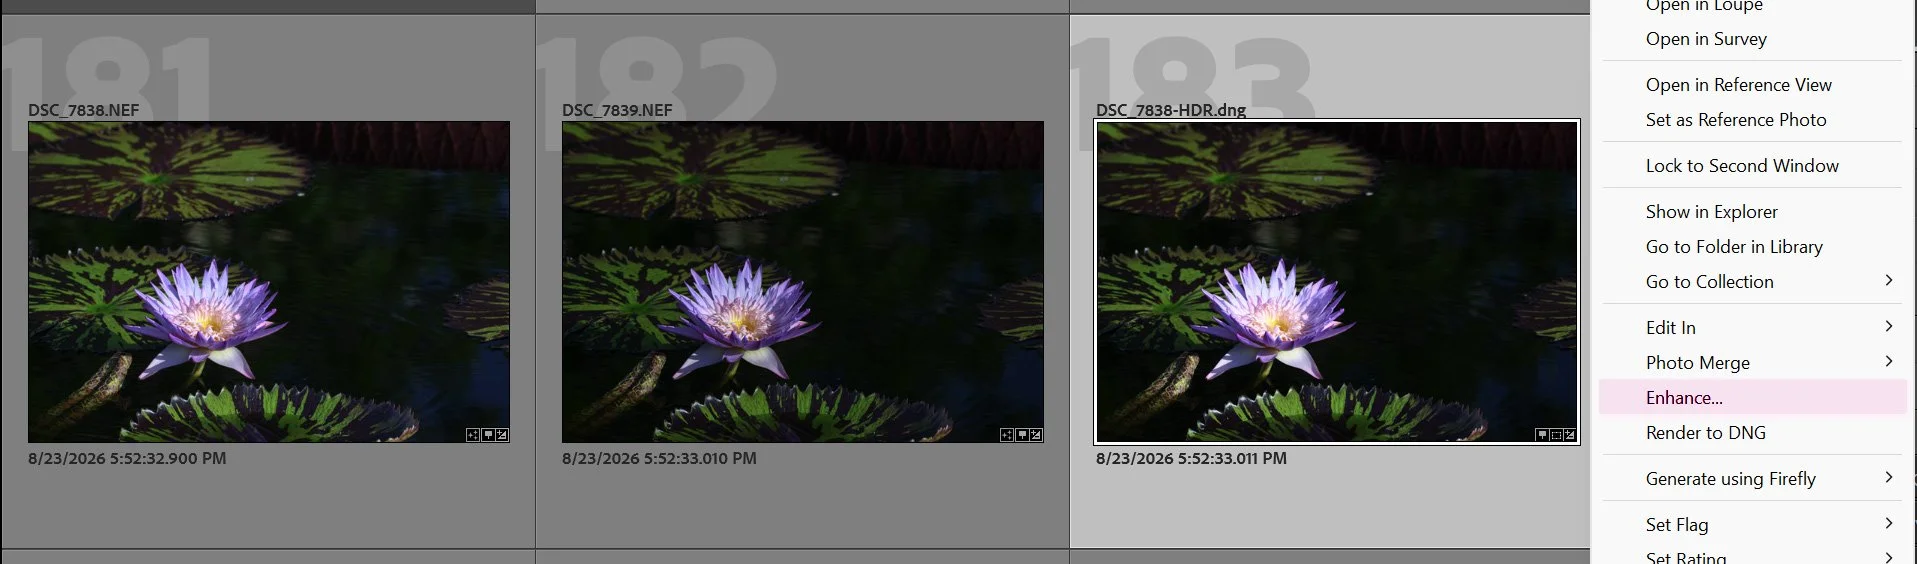
The important point is not to chase perfectly smooth pixels. Some residual noise is harmless. Destroying fine texture in pursuit of laboratory cleanliness is not.
6. Establish the global image
Only now do I begin conventional development: exposure, white balance, highlights, shadows, whites, blacks, color balance, tone curves, and overall contrast.
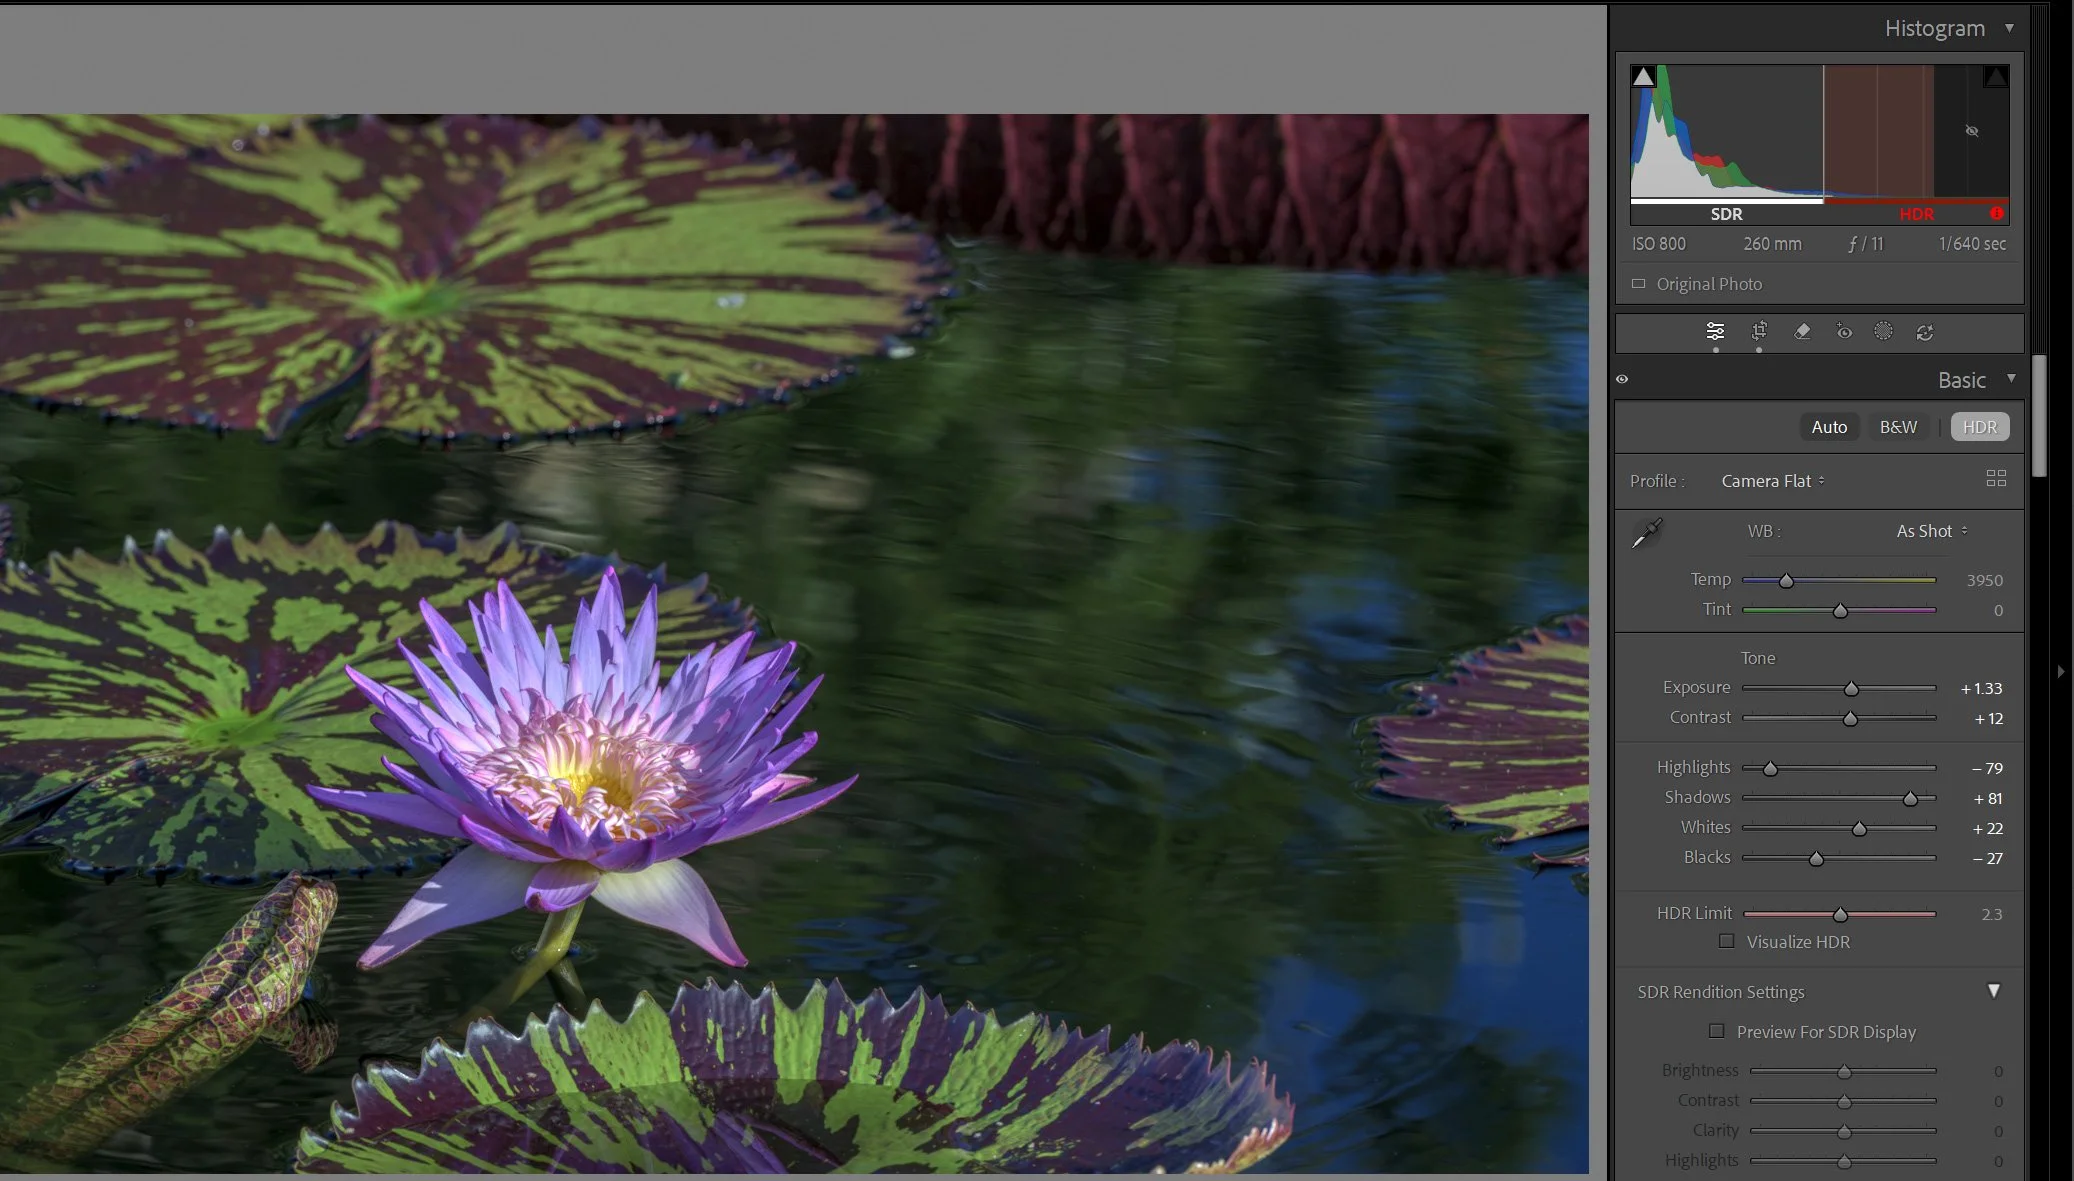
At this stage, I try to establish the broad appearance of the scene rather than perfect every individual object.
HDR files provide enormous adjustment latitude, which also makes them very easy to abuse. Just because Lightroom allows the Shadows slider to reach +100 does not mean civilization requires you to put it there.
7. Adjust individual elements with AI masks
Once the global image is balanced, Lightroom's AI selection and masking tools let you work on individual parts of the scene.
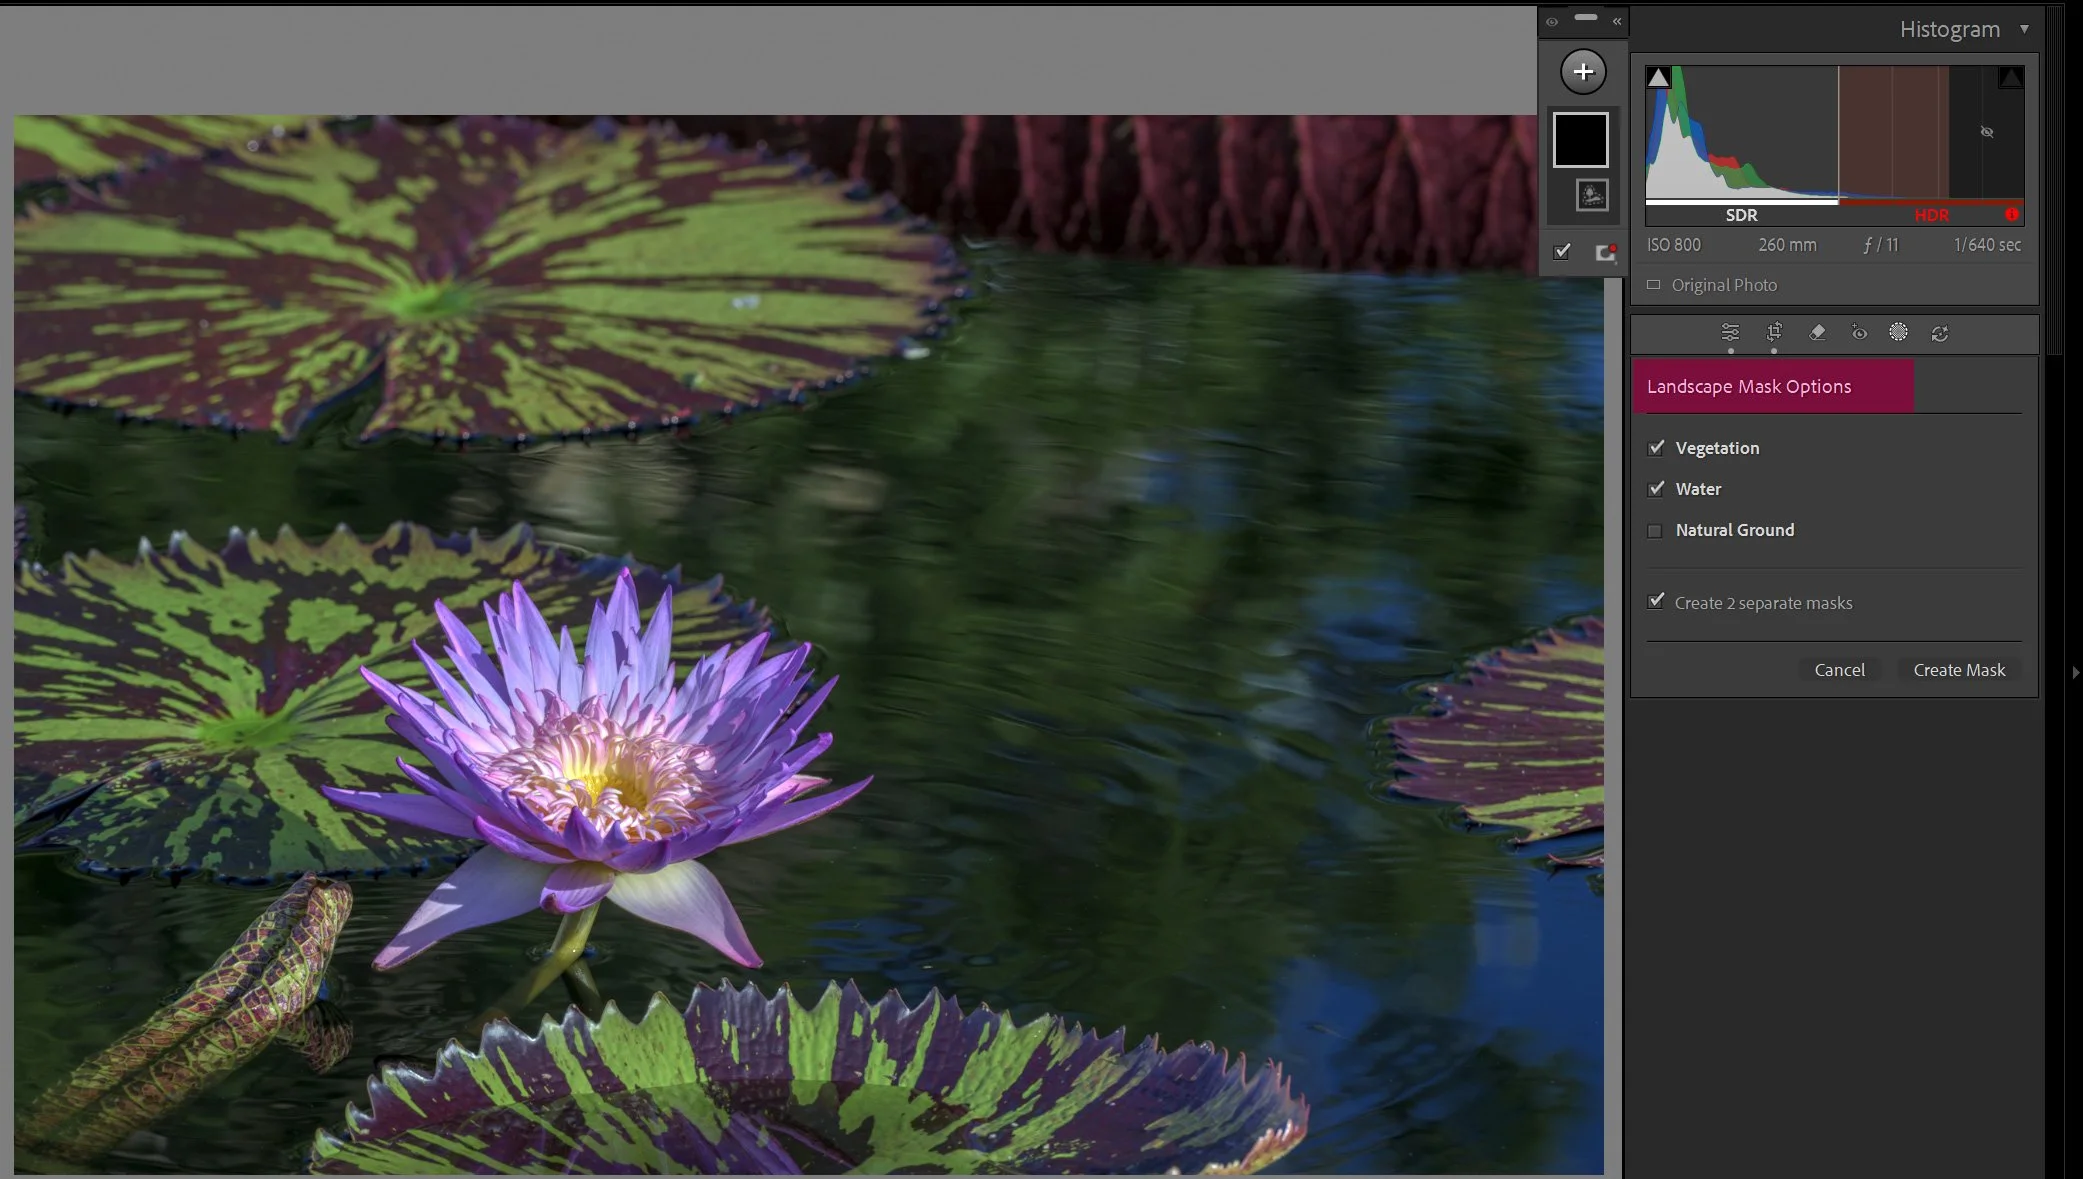
You can treat the sky, foreground, vegetation, water, buildings, people, and other recognizable elements separately. Masks can also be intersected with luminance or color ranges, allowing adjustments to become extremely specific.
This is where much of modern photographic processing becomes analogous to human perception. We do not perceive every part of a scene with identical brightness, contrast, or attention. Local adjustments allow the photograph to reproduce those perceptual relationships rather than being constrained by one global tone curve.
The restraint should be conceptual rather than arbitrary: adjust things that were present in the scene; do not feel compelled to make every selectable object announce itself.
8. Use external tools for specialized work
Only after the basic Lightroom development is complete do I send the image through specialized software such as Topaz, Luminar, or other plugins.
These tools are useful for tasks such as sharpening, additional noise reduction, resolution enhancement, local contrast, optical corrections, or other processing for which they may outperform Lightroom.
I generally treat plugins as finishing tools rather than starting points. The underlying exposure, color, tonal balance, and local relationships should already make sense before another application gets involved.
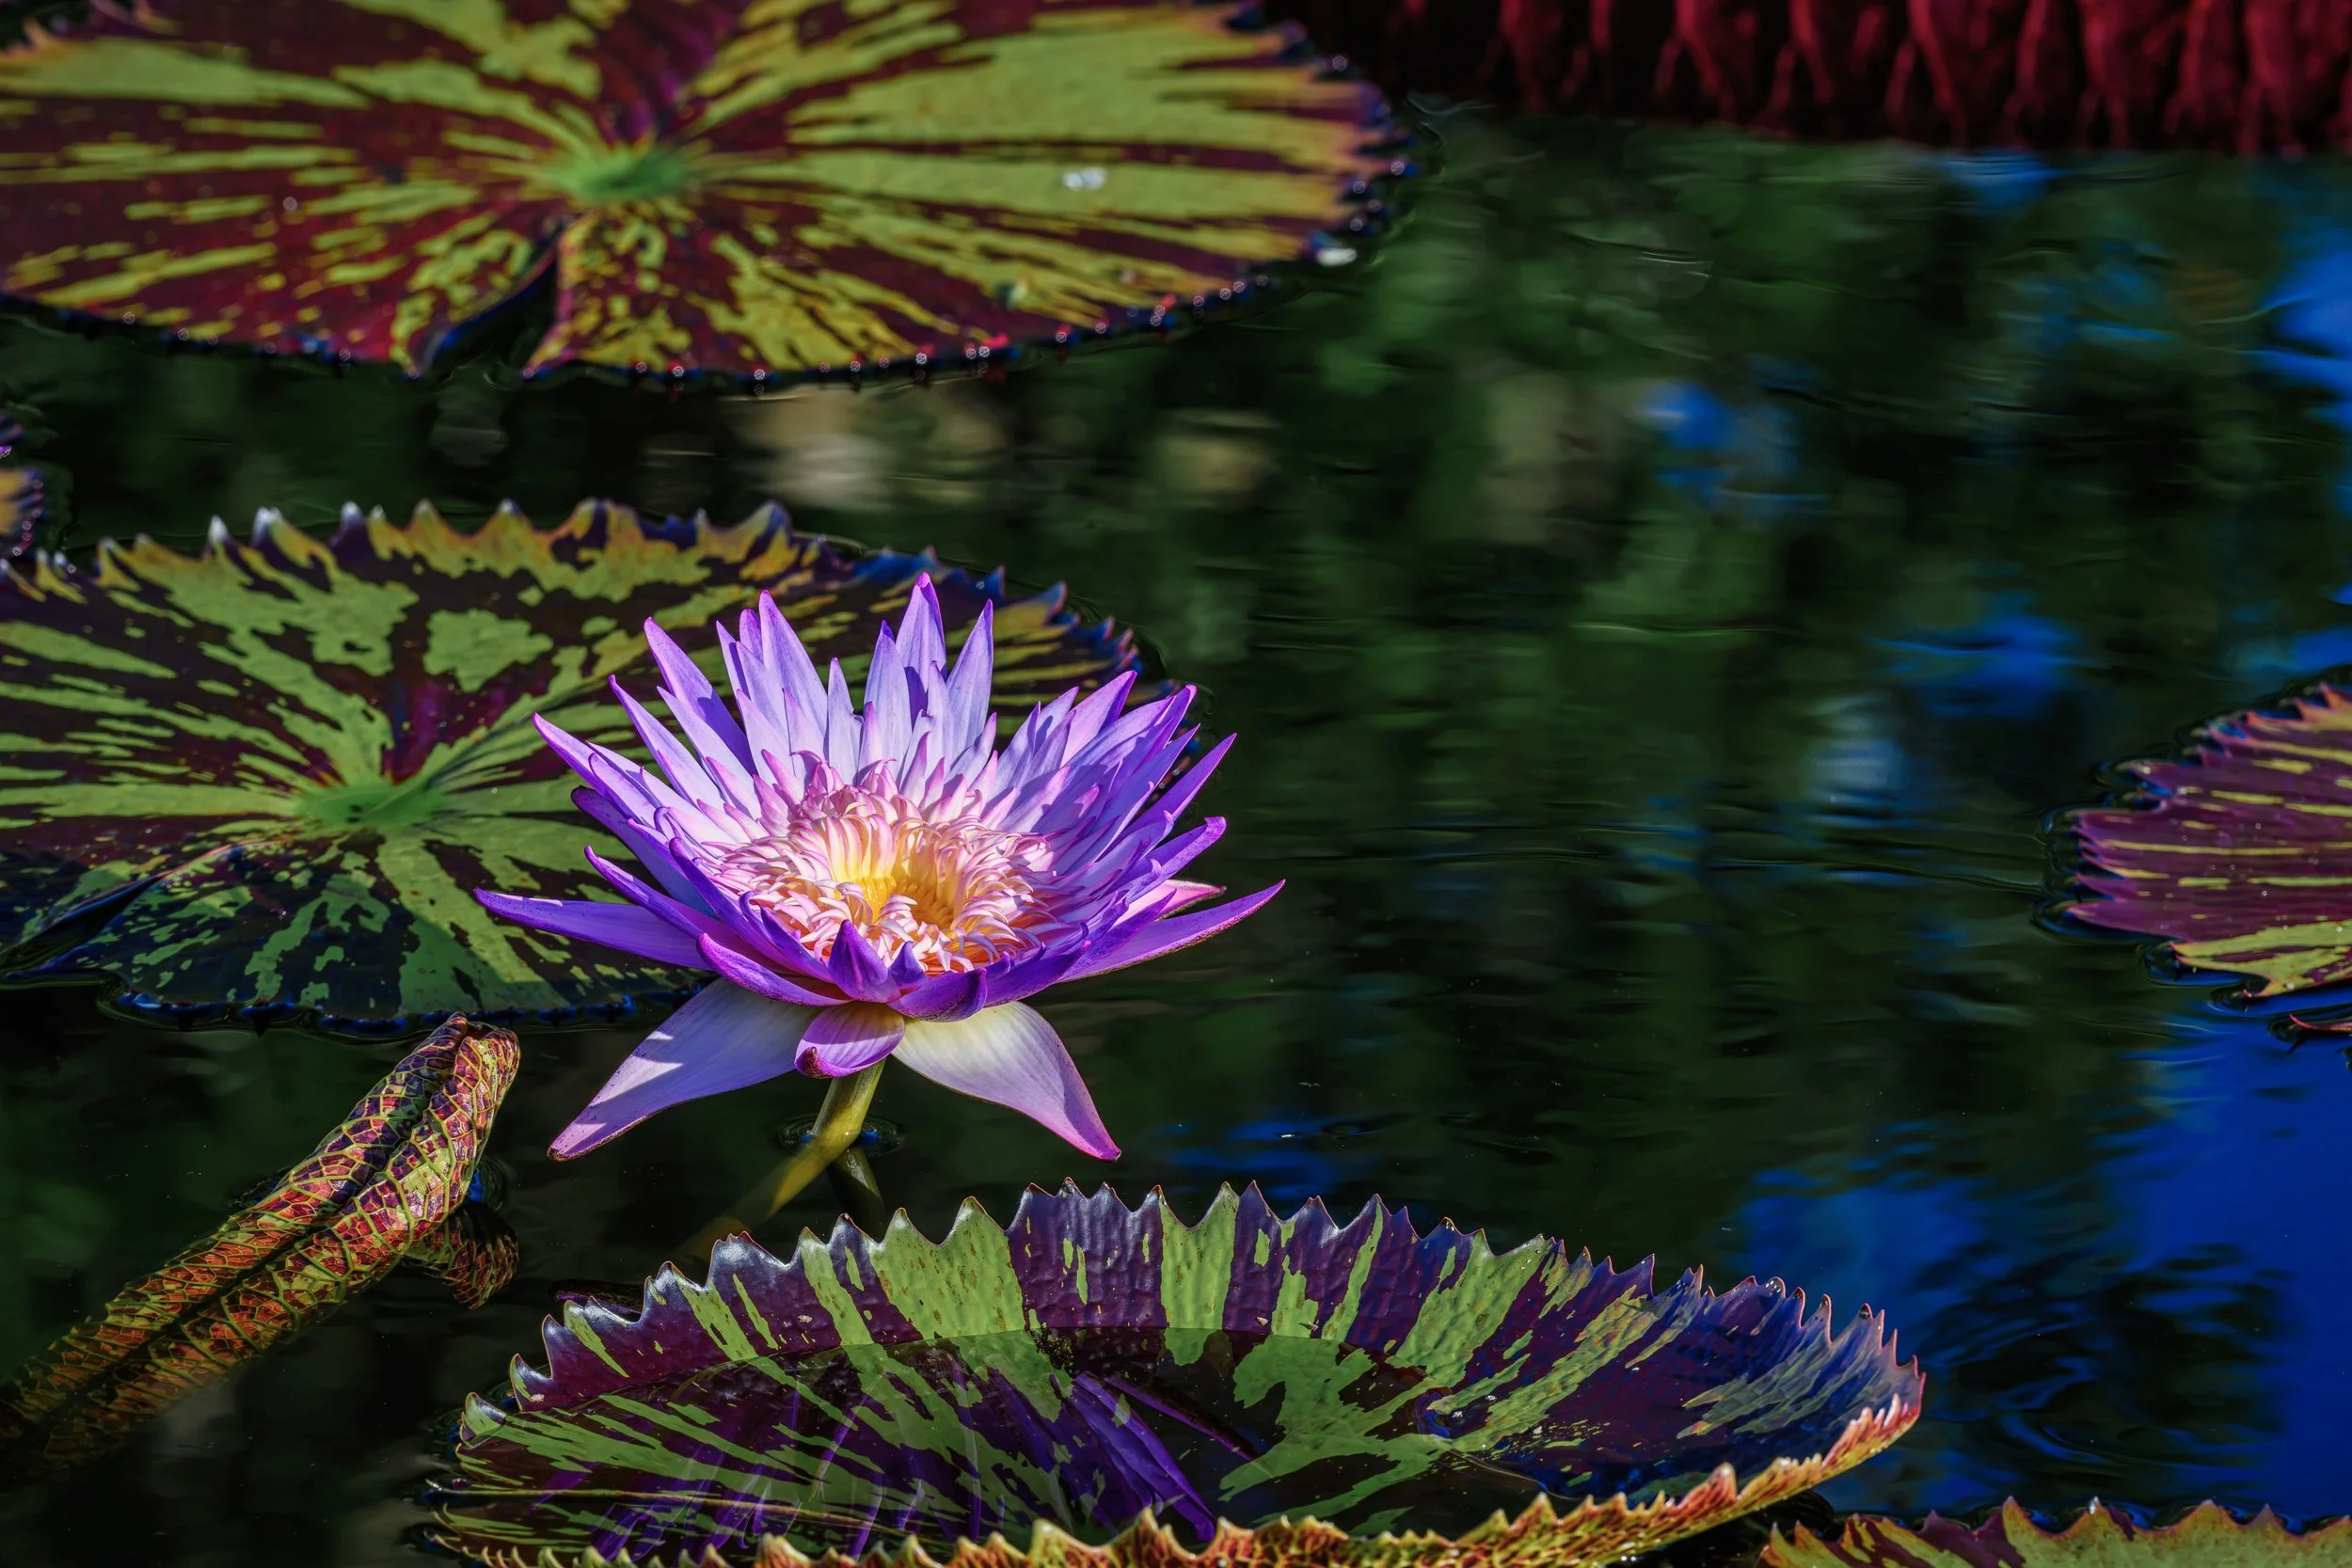
The resulting photograph may therefore contain considerably more processing than a camera-generated JPEG. But processing alone does not make an image "fake." The relevant distinction is between developing captured information and inventing information that was never present.
HDR merging, noise reduction, tonal recovery, masking, color correction, and sharpening fall overwhelmingly into the former category. They compensate for limitations in the camera and the photographic process. Removing a building, replacing the sky, or generating objects that were never there is a fundamentally different operation.
-
Recommended Lightroom / Adobe Camera Raw workflow
HDR
JPEG and HEIC files with HDR Gain Maps, captured natively using Apple iPhone, Google Pixel, and Samsung Galaxy.Denoise, Raw Details, Super Resolution
Reflections Removal
Distracting People Removal
Dust Removal
Currently available only in Adobe Camera Raw as Early Access.Generative Expand
Currently available only in Adobe Camera Raw as a Tech Preview.Generative Remove, Content-Aware Remove, Heal, and Clone
Lens Blur
Lens Profile
Crop and Transform
Adaptive Profiles
Global Adjustments
Masking
Why this order?
The basic principle is to perform operations that change or reconstruct image data first, before making aesthetic adjustments. Noise reduction, resolution enhancement, reflection removal, dust cleanup, and generative edits can substantially alter pixels, so Adobe recommends doing them early.
Geometric corrections such as lens profiles, cropping, and transform come next, establishing the final composition and geometry. Profiles and global tonal/color adjustments then define the overall appearance of the image.
Masking comes last because local adjustments depend on the image already having its final structure, tone, and composition. Otherwise you risk carefully painting a mask onto pixels that a later operation cheerfully moves, replaces, or deletes.
In short: fix the data → fix the geometry → establish the overall look → make local refinements.